The E2EE Form LITE package is a self-service service and therefore has a simple personal control panel where you configure recipients and style your form etc. according to your needs.
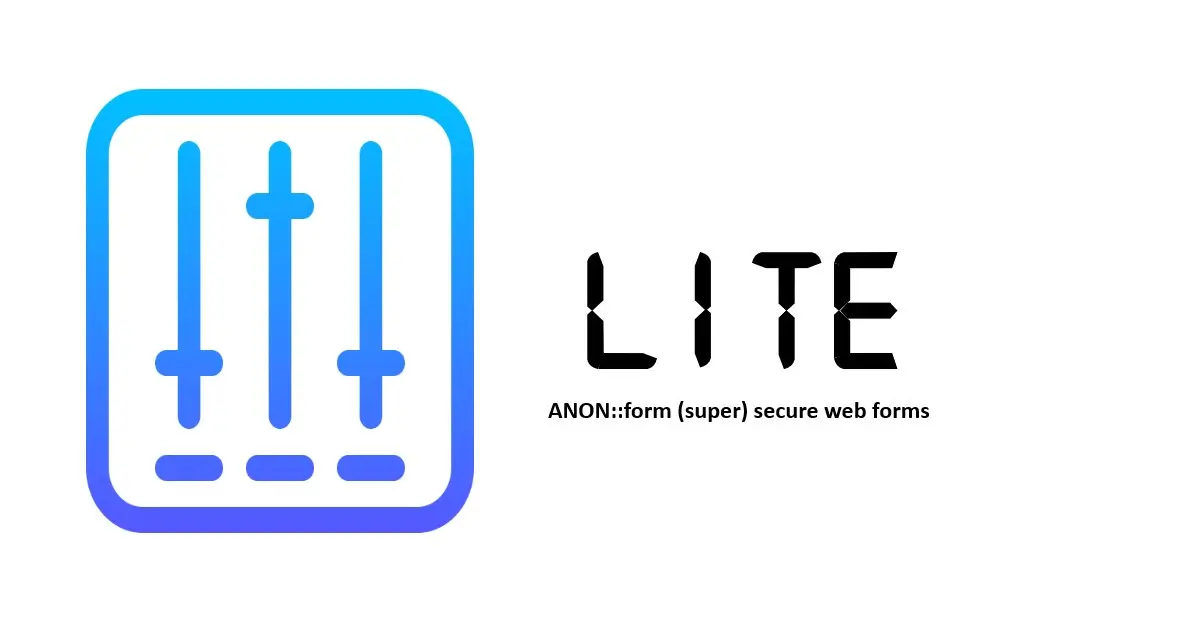
LITE Control Panel is a special function for self-service of the LITE package that replaces the manual handling of forms etc. that is used in other packages. Here you will find information about what is included in the LITE package.
Organizations are using LITE as a safe reporting channel for whistleblowers…
The LITE Control Panel includes the following features:
- Link to your form
- Edit customer information
- Upload logo
- Select language support
- Select form type
- Style the form colors
- Choose Captcha type and theme
- Edit recipient including PGP public key
- Update PIN code
All fields marked with (*) are mandatory
1. Edit customer information
- Company; the name of the organization in the form
- Company address; the customer’s postal address
- Company telephone; a telephone number for the customer’s contact person
2. Upload logo
- One (1) logo image can be uploaded
- Max width 512 px
- Max size 500 kB
- Format GIF, PNG, JPEG, WEBP
3. Select language support
The package includes support for a limited selection of languages where you can optionally use one or more languages as needed. One of the languages must be specified as the default language when the form is opened without a language tag.
4. Select form type
The package includes a number of different types of ready-made forms (see more in the menu “Resources & Support” -> “Demo”), select form type from the list. The form type can be changed at any time.
ATTENTION! If a whistleblower form is selected, a dynamically generated Whistleblower Policy is also included which is accessed by specifying /Fpolicy at the end of the form’s URL. You choose yourself whether you want to use the policy by linking to it in your website.
5. Style the form colors
- Body background color
- Body text color
- Fields border color
- Button text color
- Button background color
6. Select Captcha type
- Captcha type; choose between “Standard” (locally installed Captcha with text string as control) or hCaptcha, note that the Captcha type is also used for the login to this control panel, read more about both Captcha types
- hCaptcha theme; if you selected hCaptcha as type, you can choose light or dark theme for the control box
7. Edit recipient including PGP public key
- Receiver Department; appears as the form’s main heading
- Receiver name; appears in some forms as the name of the recipient of the form data
- Receiver email; the email address with support for PGP encryption to be used to receive form data.
- PGP public key; is the public key associated with the recipient’s email address. If you have a Proton email account, you can download the key by clicking the “Download from ProtonMail” button or download the key manually
IMPORTANT! You can change the recipient’s e-mail address at any time, this must then also have its associated public PGP key registered. An email address with an incorrect or no public key will not work.
7. Update PIN code
At any time, you can update the pin code you use to log in to your control panel.
IMPORTANT! We recommend that you use a code of at least 16 characters long with mixed numbers and upper and lower case letters. Preferably use a minimum of numbers, letters provide more security.
IMPORTANT! As a first step, change the temporary PIN you were assigned when the account was created.